 |
|
 |
|
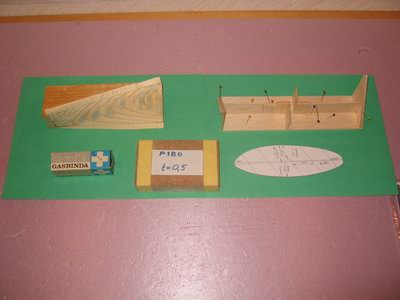
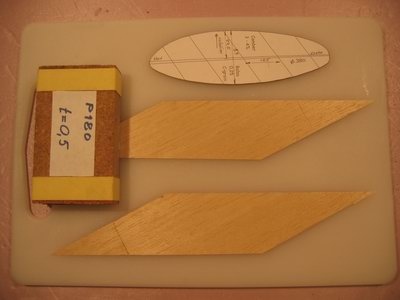
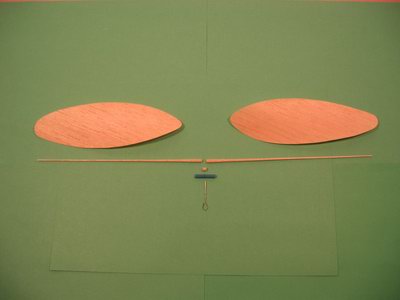
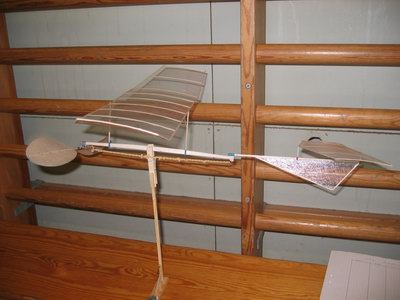
Here are the tools and jigs used to make the popeller. The piece at upper left is a block form, which serves
to give the propeller blades their proper (usually helical) twist. This particular block appears to be made of hardwood.
|
|
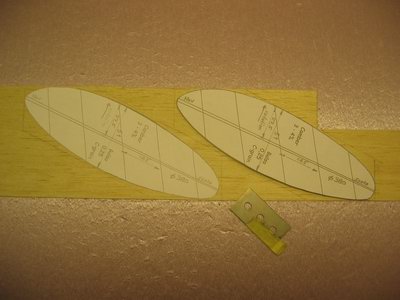
First, propeller blade templates are laid out over a balsa sheet, and suitable pieces cut out. Note that
the blades are not aligned with the wood grain. This prevents cracking and makes the blades stiffer.
|
| |
 |
|
 |
|
Here are the blanks that were cut out. They are then sanded to their proper thickness using a sanding block.
Tape has been wound around the edges of the block to give a clearance of 0.5 mm; the target thickness of
the propeller blades.
|
|
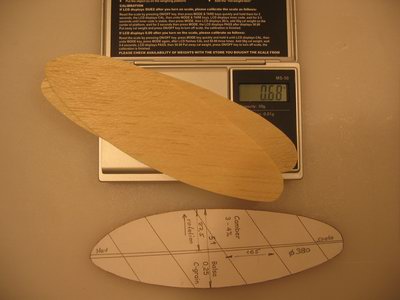
After having been sanded to correct thickness, the blades are cut to shape using the template and a razor blade.
Weight of the blades: 0.68 gram.
|
| |
 |
|
 |
|
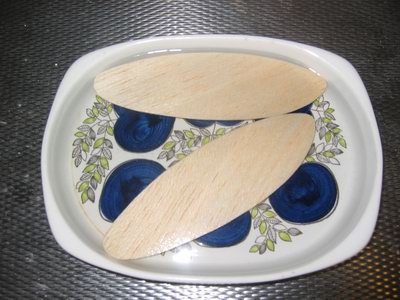
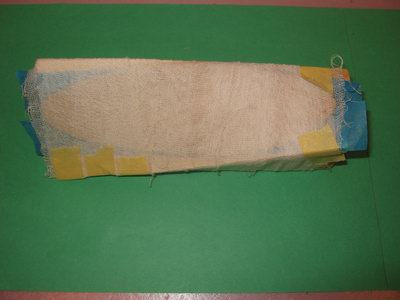
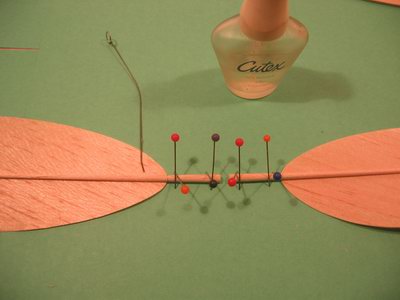
The propeller blades are soaked in water for a few hours until thoroughly wet...
|
|
and then wrapped to the block form and left to dry.
|
| |
 |
|
 |
|
Here are the pieces that will be used to make the propeller. In addition to the blades, there is a
tissue tube that will form the hub, a piece of piano wire that will form the propeller axle, and the
long propeller spars onto which the blades will be attached. The tiny balsa piece between and below
the spars is a plug that will sit in the center of the hub.
|
|
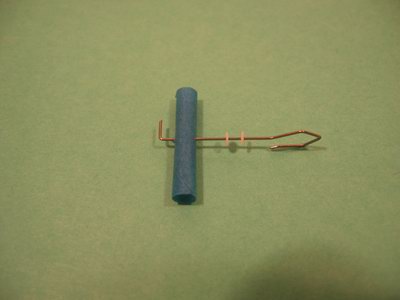
Here the hub is almost finished. The little plug has been inserted in the center of the tube, a hole
has been drilled through, and the axle has been inserted and bent at the front end. All that remains is
to glue the axle to the hub using cyano (superglue).
|
| |
 |
|
 |
|
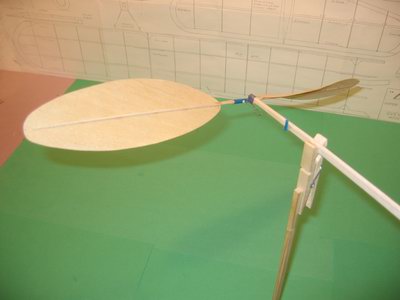
Here the spars are glued to the blades.
|
|
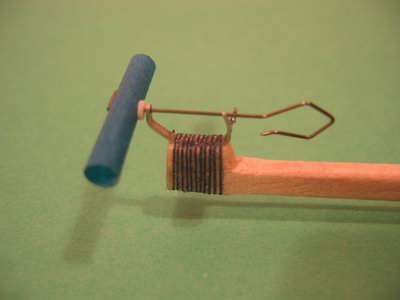
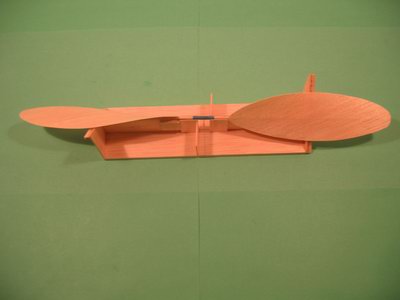
And here is the finished hub, mounted on the propeller holder.
|
| |
 |
|
 |
|
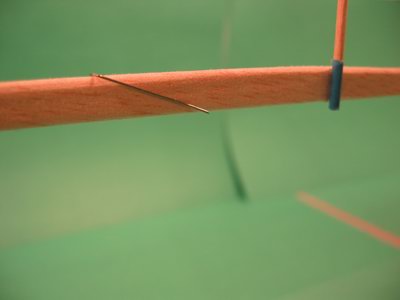
The stub spars are inserted in the hub, and a jig is used to ensure that the two blades get an equal pitch.
|
|
The finished propeller
|
| |
 |
|
 |
|
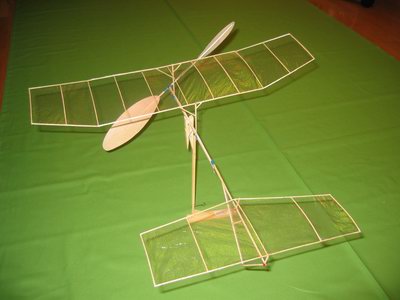
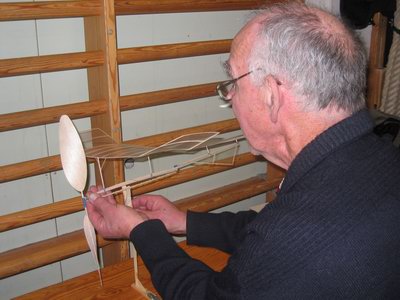
With all the parts put together, the plane is now ready for flying.
|
|
Another picture of the finished model.
Weight: 2.93 grams.
|
| |
 |
|
 |
|
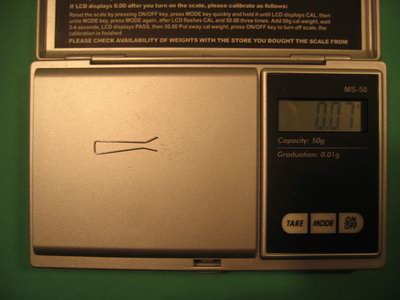
The F1M-rules stipulates that the model must weigh at least 3 grams, so a ballast weight of 0.07 g is made
out of a piece of wire...
|
|
and mounted on the fuselage.
|
| |
 |
|
 |
|
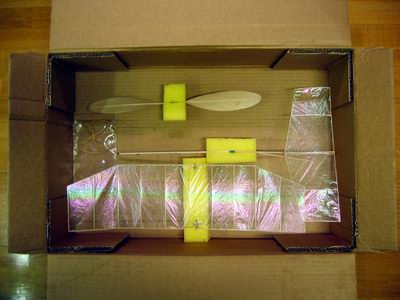
To transport the model to the flying site, a box must be used. Foam rubber blocks glued to the bottom of
the box hold the parts securely.
|
|
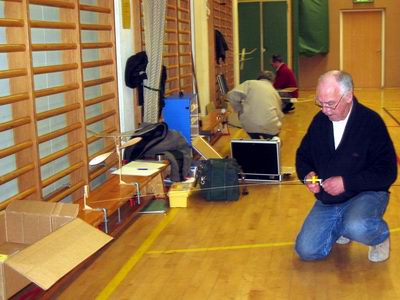
At the flying site, winding up the rubber.
|
| |
 |
|
 |
|
And the plane is ready to fly!
|
|
The model sitting on a purpose made stand.
|
| |